

English
BLOG
Build a Birdhouse
Our birdhouses had the measurements for “small birds”, using 15 cm wide and 2,5 cm thick (5,9 inch*0,98 inch) planks, if the planks are thinner the woodpecker will have no problem wrecking it pretty fast.
From year to year keep an eye out at the birdhouses, if some of them are affected by the woodpecker change the house or fix it, the Great Spotted Woodpecker is a common nest destroyer for the tits, by getting inside the house and eat the eggs/chicks or feed their own offspring with it.
Do NOT use impregnated wood, its poisonous and therefore poisonous to the birds (and you).
We put together four planks to a square tube and got several houses at the same time. We sawed the tube like down below, every other straight and every other diagonally, in the example we would have gotten four ready houses that only would need a roof and a floor.

The text we read about birdhouses suggested that the roof should be around 21 cm (8,6 inch) long but we made it about 25 cm (9,8 inch) long instead, it felt like the door got more cover that way.
BUT your birdhouse can have any measurements as long as the size of the door is acceptable, the house is at least 15 cm (5,9 inch) deep (from door to floor) and you have room for at least your fist inside the house. The measurements above we read about and decided where good ones so we did that.
A good birdhouse will keep the wet out from above but let out moisture from below, so make a good roof and make a slightly smaller floor so there is room in the cracks to get rid of moisture. We made the floor easy to open with screws so that we every fall can clean out old nesting material.
Depending on what kind of birds you want to favor you make different sized doors.
There must be a minimum of 15 cm (5,9 inch) from the door to the bottom, so not predator birds or animals can reach the eggs/chicks.
Examples for the door:
Blue tit – 25-28 mm (0,98-1,1 inch), wants free “fly in” with no hindrance to the door
Marsh tit – 25-28 mm (0,98-1,1 inch), like a low placement of the house, like 50 cm (19,6inch) above ground.
Coal tit – 25-28 mm (0,98-1,1 inch), like a low placement of the house
Great tit – 28-32 mm (1,1-1,26 inch), often very dominant so to give the smaller tits a chance, make more houses with doors about 25mm (0,98 inch) big.
Willow tit – 25-28 mm (0,98-1,1 inch), fill the house up with wood shavings so the tit can “make the house by itself”.
Crested tit – 28-30 mm (1,1-1,18 inch), fill the house up with wood shavings so the tit can “make the house by itself”.
Nut hatch – 30-50 mm, they glue the door with mud to appropriate size
House sparrow – 32-35 mm (1,26-1,37 inch)

Nuthatch
So why build birdhouses in the first place?
For a bird to build a house it needs a bigger, dead, standing tree in its preferable area, some wants areas with a lot of leaf trees and some areas with pine and spruce, and therefore big, dead leaf trees or big, dead pine/spruce trees.
The different kinds of woodpeckers are the pioneers that make holes and then year after year small birds can use these natural places to nest. Also, dead trees that breaks can become a good nest in the breaking point, if it is high enough.
With today’s forestry agenda these kinds of trees, and even areas, are scarce and birds along with other animals suffers from it. Trees are not left to be old and the big monocultures with only, for example pine, have only row after row with pines and nothing in between where little birds can hide or nest.
In Sweden, the forestry companies are obligated to leave dead standing trees, so you’ll often see a vast clear cut with a few dead standing trees here and there. The birds have somewhere to build, but not in a forest, because it was removed. There is also a continuity problem with this. When the dead trees topple over, there are no big living trees in the area that can die standing to replace them. The management of the forests in the Nordic countries is a mess.
So, to help our smaller birds, build them somewhere to live and you will for sure see an increase in birds and their beautiful song!
/Tova
Cheese Pizza
The Cheese pizza
This recipe is for 2 servings/one oven plate
When I make two oven plates, I take the recipe times 3 = 525 gr cheese + 12 eggs.
That is enough for two people and two dinners, so I usually make two bottoms, put topping on both but only bake one of them, the other one with finished topping I put in the fridge (cellar) and bake the next day/for dinner. Depending on how much you eat and how hungry you are of course ;)
The pizza crust
175 grams grated cheese
4 eggs
Pinch of salt and if you want other spices like onion powder and grounded white pepper
Whisk the eggs a bit in a bowl, add the grated cheese and spices and stir.
Spread out on an oven plate with paper on and put in oven at 200 degrees Celsius.
Bake until it has a nice golden/brown color, about 15 minutes give or take.
Take out and put on topping of your choice and then back in the oven until you think its ready.
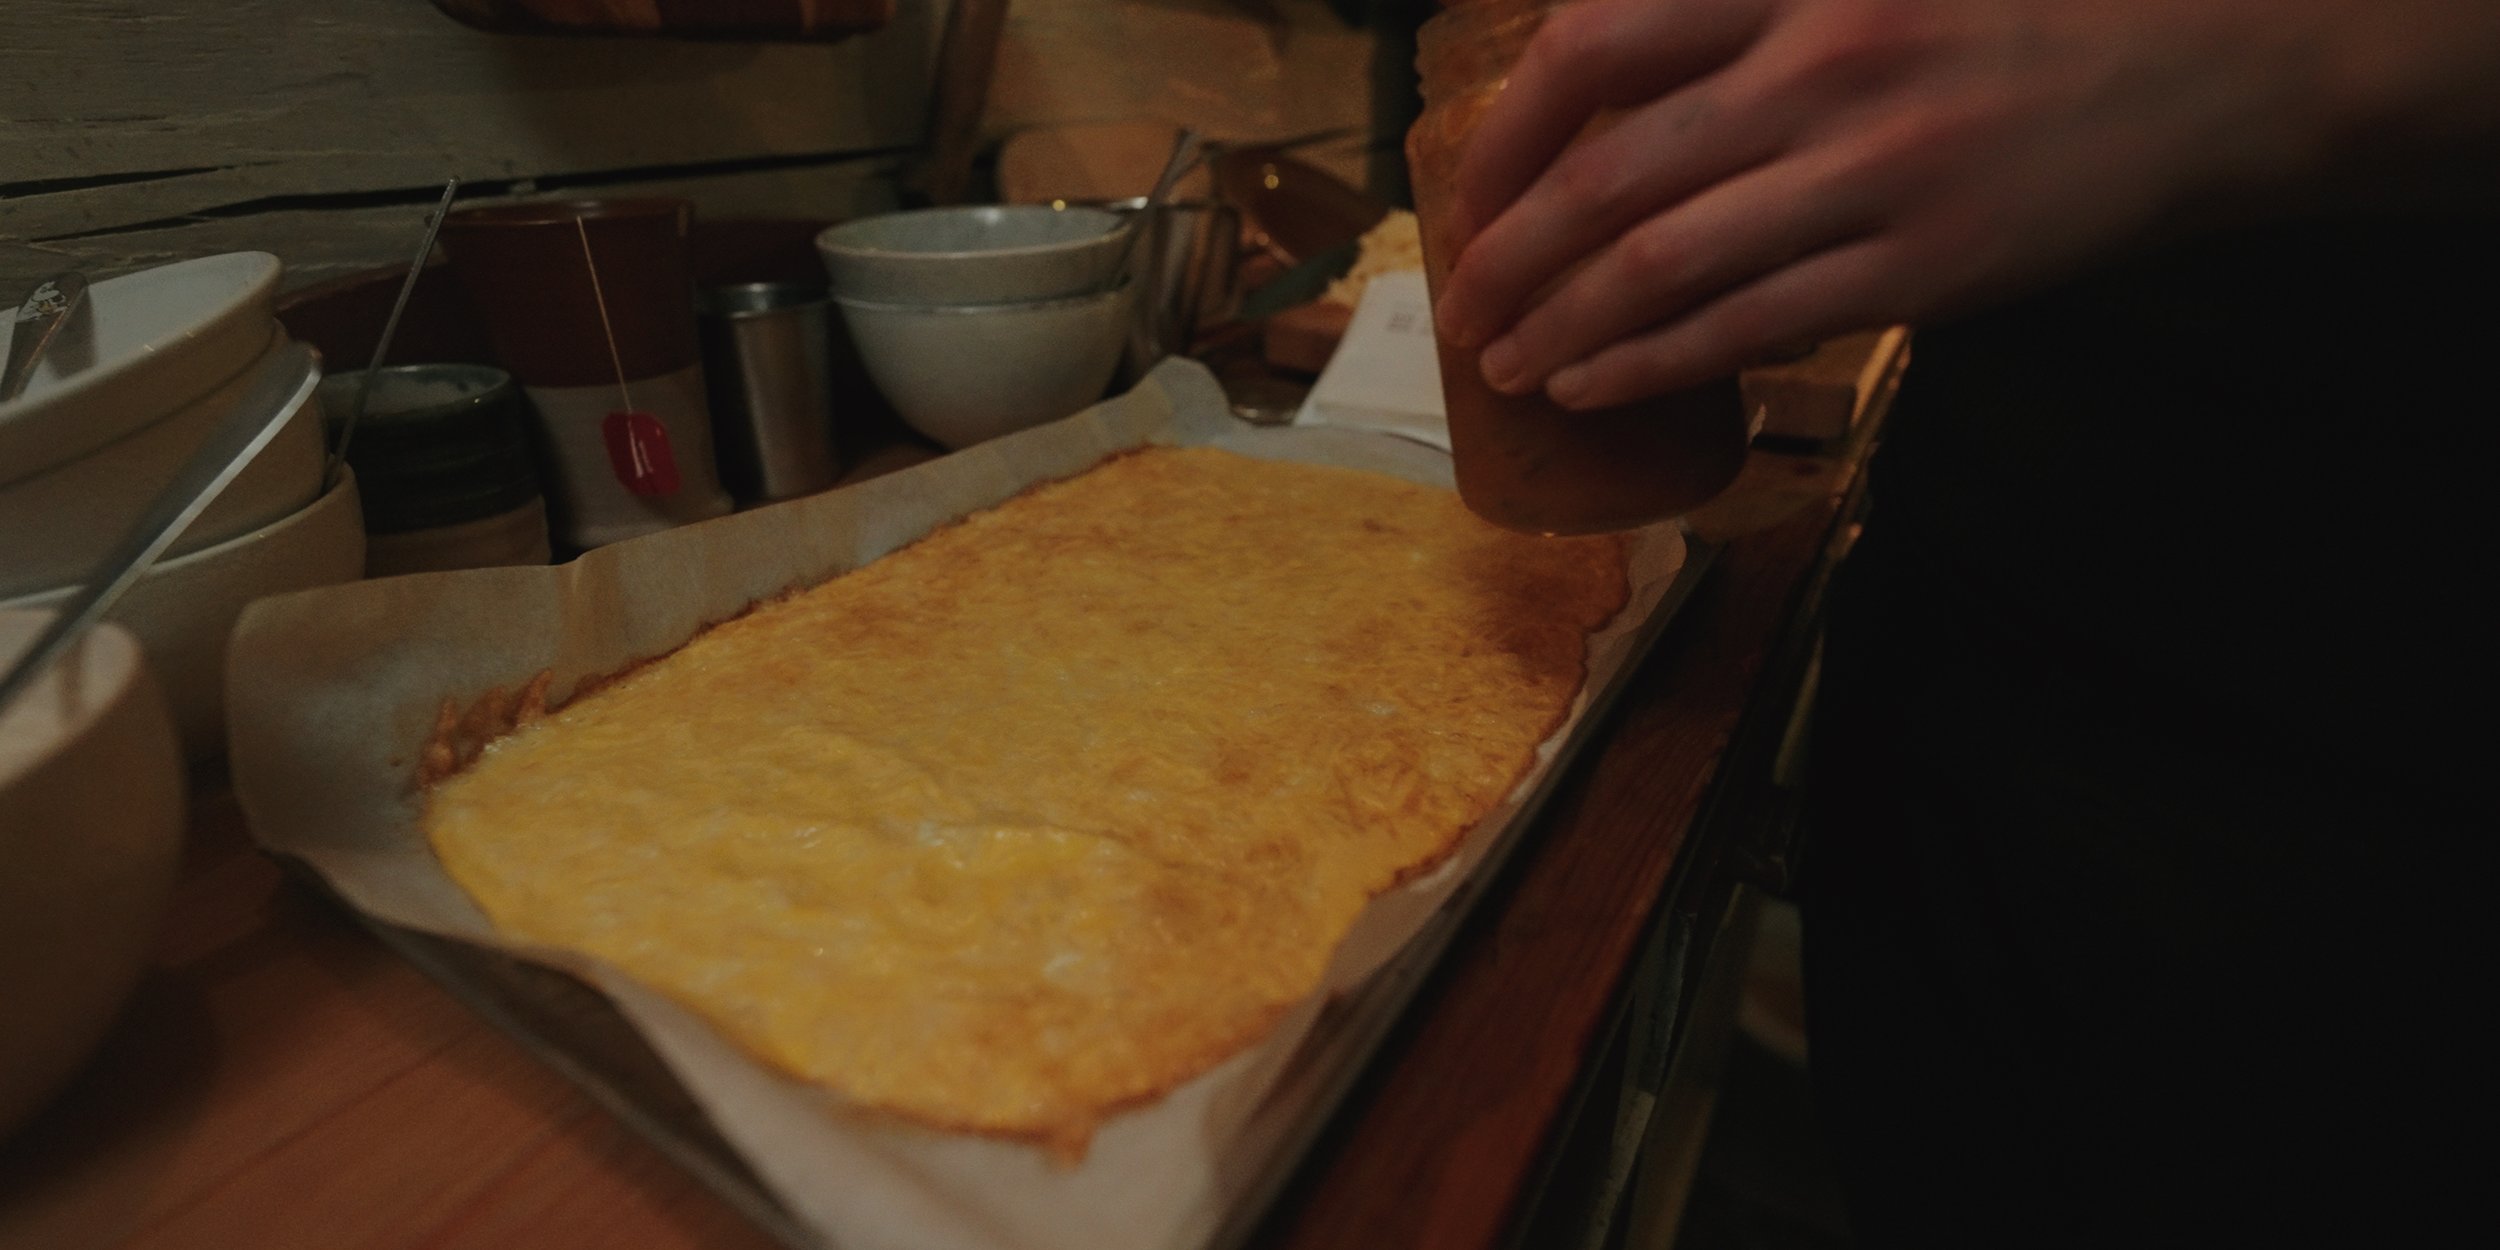
The finished crust
For example, we use these toppings:
- Tomato sauce
Make your own by cutting tomatoes in bits and simmer with spices (salt, pepper, oregano), onion and garlic or buy a package with crushed tomatoes or pureed tomatoes (not ketchup, just tomatoes) and simmer with spices (salt, pepper, oregano), onion and garlic.
Let it boil or simmer for at least 20 minutes to get the tomatoes a bit sweet. If you need more sweetness/less acidity, add some honey.
- Diced Feta Cheese
- Salami
- Mushroom
- Shredded ham
- Grated cheese
- Diced mozzarella
- More sprinkled Oregano

Topping
The cheese that we use in the crust is an ordinary, not so strong-tasting cheese. If you want a more mature taste, use a stronger kind of cheese.
Happy Eating!
Tova

Ready to eat!
How to make a herbal tincture
Its really easy to make a herbal/root tincture that you can use in your “home pharmacy”.
You will need two things:
Herb/root of your choice
Plain/not seasoned alkohol (vodka etc) Not above 40% because that can draw out unwanted substances (Allegedly).
I always prefer to use dried herbs/roots but you can also use fresh herbs, dried herbs are more potent than fresh ones. If possible, use organic or self picked herbs/roots and also organic alkohol, free from pesticides and things like that.
Fill a jar 1/3 with your herbs/roots and fill up the rest with alkohol.
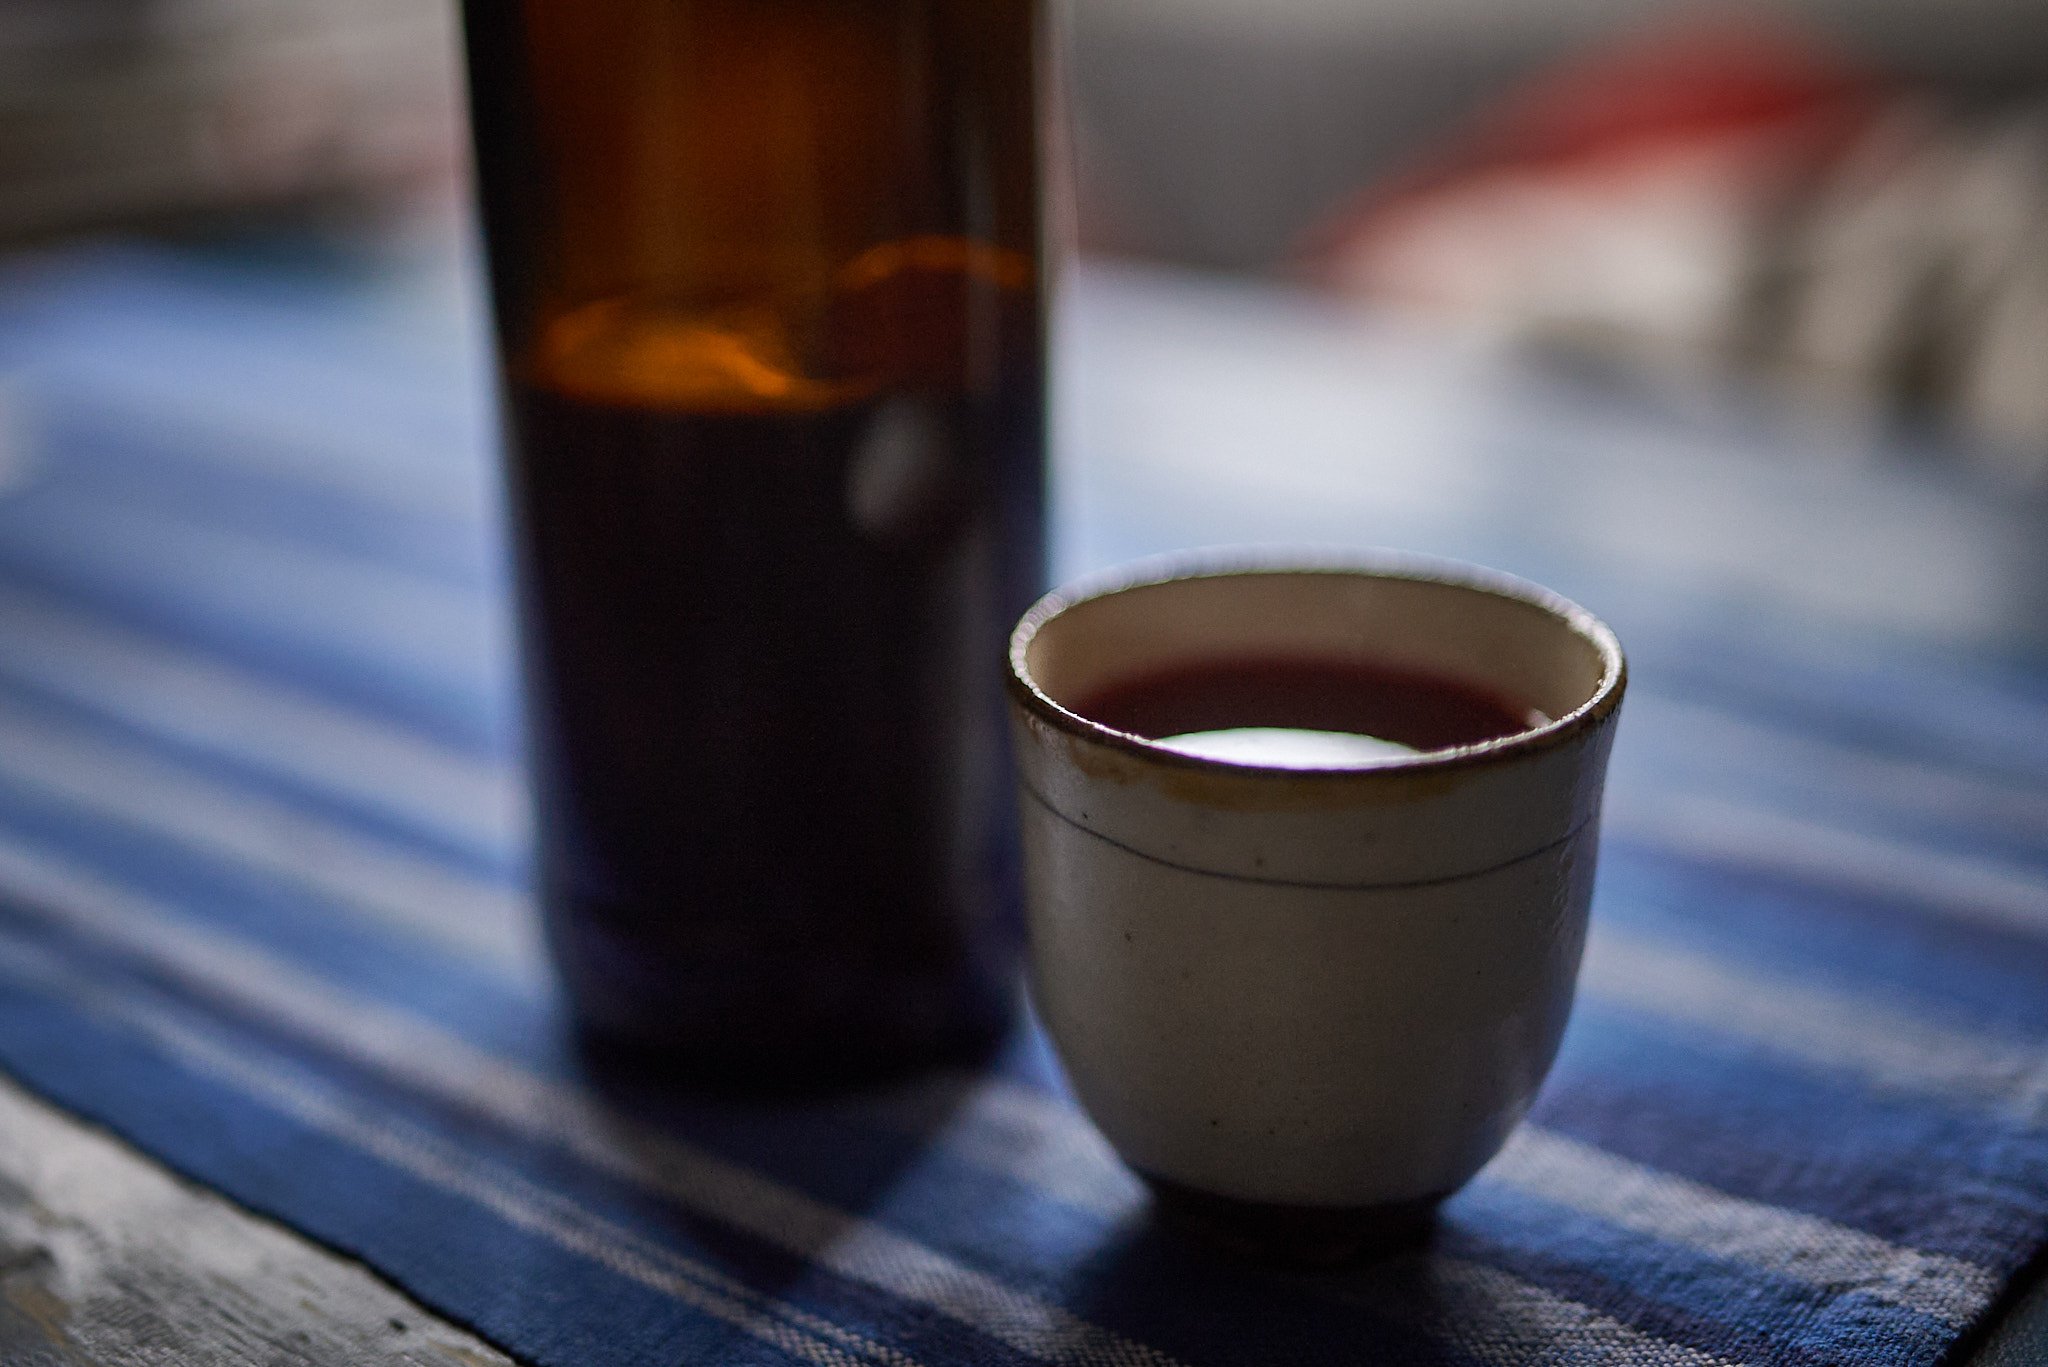
Let it stand in a window for about two weeks, strain and pour in a dark glass flask. Store it dark.
Because its alkohol, it will last for years and years.
I did a Valerian Root tincture and a Arnica Montana tincture.
Valerian Root is used for insomnia, anxiety, worry and stress, it makes you calm. Start with a few drops in your beverage when needed and adjust after that. Do not use valerian tincture for long periods of time or too much, it can cause other effects than the wanted ones. A lot of cats love dried valerian root, its like catnip to them. Valerian root has a very distinct smell and when dried it smells even more,
Arnica Montana expands your blood vessels and increases your blood flow, which will help ease sprains, swellings and bruises if you dab (with a cottoned or something) some tincture as soon as the damage is done. My mother has always had Arnica tincture in her cabinet and used it on me and my siblings when we hurt ourselves, we rarely had bruises. Arnica is only for external use and not on open wounds.
I also make herbal oil out go Arnica every year, with that I make my Arnica Salve, calming sore muscles and joints. Here is another blogpost where I explain the making of the herbal infusions. Herbal infusion.
As always, read more about the herbs and the effects to know if it is for you and your needs!
Im sure that they knew much more about herbs and plants back in the days, now we have a different relationship with the world around us and have forgotten a lot of that knowledge, im sure if we start to listen again we can find more information on how the plants can help us.

Arnica Montana

Valeriana Officials
Chaffles - Cheese and Egg waffles
These waffles became popular some time ago and I understand why, so simple and so good. Much more satisfying and filling than the ordinary wheat flour ones, and if I may say, better for your body without the flour.
2 servings or about 2-3 waffles
2,5 dl grated cheese
2 eggs
Blend the cheese and the eggs, mix them if you want a smoother batter.
Butter up your iron and fry them until golden brown
Depending on what kind of waffle you want, a “salty” one or a “sweet” one, you can choose different kind of cheeses and/or spices.
If you want a sweet waffle, you can use mozzarella cheese that have a mild taste. Maybe add some sweetener if you are into that, some cinnamon and cardamom if like and then serve with whipped crème and berries or jam.
If you want to do a salty one you can use a more “ordinary” cheese and eat it like a sandwich with butter, ham and some more cheese, ha-ha, or as a side dish to other food, or put your favorite things on top. Maybe some sour crème, chopped red onion and fish roe, yum.
We used a cast iron, Belgian waffle iron, for outdoor use in the video, but you can use a “ordinary” waffle iron too. It feels though like it’s easier to eat the waffle like a sandwich if it’s the Belgian type. But with the ordinary one you can eat them like tortillas and roll in the good stuff.
If you need some more inspiration just search the internet, as always there is a lot of suggestions and ideas out there!
Good luck!
Tova

How we make Kombucha
Ingredients: 1Liter 4Liter
Organic raw canesugar 100g. 400g
Organic black tea 6g 24g
Kombucha starterculture 1dl 4dl
Scoby 1st 1st
This recipe is easy to scale, we suggest you decide what size jar you’re going to use and adjust the recipe to that jar. Often you start with a smaller amount of starter culture, so you have to expand it by making a small batch first and put away as much starter culture you need for the jar you chose. This will make more sense as you read on.
Since Kombucha is a living culture, we urge you to not poison it, or yourself, by not using organic ingredients.
-Boil some of the water (a little less or about half of it..)
-Put the tealeafs and sugar in the boiled water and let it soak for 15 minutes, stir every now and then to make the sugar dissolve.
Strain and add the rest of the water cold so that the whole tea mixture is not so hot
-When the tea is kind of finger-warm (too hot kills the culture), add the scoby and the starter culture, use glass, ceramic or plastic bowl.
-Cover with a cloth and rubber band. The brew must have access to air. Set aside in a place with an even room temperature.
-Set a reminder to taste after 10 days. Has it become sour? Is it still too swet?
-Taste every other / every third day after that.
-When you think it is sweet enough, take out the scoby and as much clean /unflavoured finished kombucha as needed for the next batch (1 dl / liter, if you mean to brew 8 liters, take out 8 dl), put the scoby together with the starter culture in a glass jar in the fridge until you are ready to make the next brew. It can be there for several weeks.
-Put some flavorings in the rest of the batch, mashed berries, fruit, spices.Cover with cloth and let stand at room temperature for 2 days.
-Strain the flavorings and put the strained, flavored kombucha into bottles with a properly sealed cork.
-Let the bottles stand at room temperature for 2 days for carbonation
-Now the kombucha is ready, store the bottles in your fermentation stopping device, (cellar or fridge). If they’re in room temperature for longer, dangerous pressure can build up in them. I usually relive some pressure from every bottle once before I put them down in the cellar, if the first one I open seems very reactive. If not, I'll just put them directly in the cellar.
-Open the bottles carefully the first time regardless, be prepared to close quickly if it turns out that they are very carbonated, so that half the bottle does not spill out into the room.
-If you use glass bottles, you should use stronger ones made for carbonated drinks. It can be dangerous to store the kombucha in just any regular glass bottle. Plastic bottles works fine and won’t explode, but in our opinion it is not such a good idea since all plastic is more or less toxic.
-Here is a link on a Swedish site to the kind of bottle we use, it is made for beer and so it holds pressure very well and does not explode too easily. (Has been tested) My guess is that with a little searching you can find something similar to order closer to where you live.
https://vinshoppen.se/olflaska-1-lit-m-bygelkapsyl.html
∆
Swedish Gingerbread Cookies
Ingredients:
300 gram Butter
5 dl sugar
1 dl golden syrup
2 dl cold water
1 tbs Gingerpowder
1 tbs cinnamon powder
1 tbs clove powder
2 tsp cardamom powder
1 tbs bicarbonate
1,5 liters wheat flower
How to:
1. Stir butter, sugar and syrup smooth
2. Add water, spices and bicarbonate, stir it
3. Work in about 1,2 liters flour
4. Put the dough on the table and work it a bit, see if you need a bit more flour. Watch that you don't add to much flour, it shouldn’t be too dry.
5. Let it rest in a cool space, therefore its good to make it a day before you bake it.
6. Cut the dough into four pieces so its easier to work with.
7. Roll out the dough pretty thin, use the gingerbread mold and put on paper on a oven plate, put it in the oven for 5-6 minutes at 200-225 degrees celsius.
The cookies should have a nice brown color and, when cold, hard and crunchy, not soft as the American cookies seems to be. :)
Enjoy!
In this recipe we use the metric system.

Put the cookies into the oven

The cookies are ready to eat!
Gårdstomten, "The Tomte"
In Sweden we have different kinds of mythological beings and tales, one of the beings that we have is the Gårdstomte. Directly translated its sort of Farm-Santa, but in this case Tomten relates to the PRE-santa version, a little person or gnome that helped the farmers on the farm, more like santas little helpers.
Every christmas (and every Thursday) the farmers had to give the Tomte a plate of porridge (or rice pudding on Christmas) to make sure he was kept happy, if they forgot to put butter in the porridge, or forget the porridge entirely, the Tomte would be so angry and make mischief or leave the farm for good, putting the famer and his family in a tight spot without any extra helping hands.
If you want to read more about the Tomte you can read here: https://en.wikipedia.org/wiki/Nisse_(folklore)
So now you know who fetched the rice pudding Ivar and Mathias put out in our latest Christmas video!
A swedish writer called Viktor Rydberg once wrote a classical poem about the Tomten that we listen to every Christmas, here you can read the poem: http://www.tomtenposter.com/Tomten.html
We also attached some traditional pictures of the Tomte painted by Jenny Nyström. Jenny Nyström is one of Swedens most popular painter for Christmas pictures and cards.


Swedish Christmas Food, the Christmas buffet
Food is always such a wonderful and interesting subject!
In our 2021 Christmas video we didn’t eat all of the things I list below, but the list consists of what we traditionally eat every Christmas with my family here in Sweden. It can of course differ between different parts, areas and families. Also, almost the same food occurs at easter and midsummers eve too, the swedes doesn’t seem to have a lot of imagination...
Cold
Christmas ham – Julskinka
Ham, boiled and then glazed with some mustard mix and in some cases breadcrumbs
Pickled herring – Sill
Salted herring that are then pickled in vinegar, water, spices and sugar.
Cured salmon - Gravad lax
Raw salmon that are cured with sugar, salt, black pepper and dill
Smoked Salmon - Rökt lax
Smoked lamb - Rökt lamm
Homemade salami – Törkörv
A kind of simple sausage, very much like a salami. But maybe a bit drier and harder, Törkörv is dialectal and means dry sausage.
Sides
Boiled eggs - Kokta ägg
With shell taken off, split into halves and eaten with Kaviar, which is a bread spread with fish roe in it.
Swedish flatbread – Tunnbröd
Spiced with anise and fennel
Cheeses, both for dessert and the dinner - Ost
Charcuteries – Charkprodukter
Curdled cheese - Grynost
This one is a specialty for some areas in the middle of Sweden and Norway, you heat the milk, put in the rennet and let it stagnate, and get the cheese mass. Then you boil it for hours until its golden and tastes wonderful, also you add cinnamon rolls to it while it boils. Back in the days people around here boiled the cheese together with a “Sälgtjuka” or “Doftticka”, a mushroom that grows on sallow in old forests, they smell wonderful. But nowadays they are protected because they don’t exist in so many places any more, the Swedish forest companies have made sure their habitats are ruined and gone.
Liver pâté - Leverpastej
Fish Roe sauce – Romsås
Swedish Mustard and dill sauce – Hovmästarsås
Eaten with the Cured Salmon
Butter – Smör
Whey butter – Messmör
Another specialty, you boil the whey after making cheese for hours and hours until its brown and like a butter, tastes a bit like fudge.
Mustard – Senap
Salad – Sallad
A salad inspired by Christmas, often with oranges in it
Warm
Meatballs – Köttbullar
Swedish meatballs at its best, we also add allspice in the Christmas version
Prince sausage – Prinskorv
A small variant of the Vienna sausage
Rice pudding – Risgrynsgröt
This one is for breakfast mostly! Eaten with sugar/honey, cinnamon and butter. Some pour milk on top it all and some have it in a glass on the side.
Janssons temptation - Janssons frestelse
A casserole made with potatoes and anchovy
Ribs – Revbensspjäll
Beetroot salad – Rödbetssallad
Potatoes - Potatis
Brussels sprouts - Brysselkål
Sweet
Swedish Gingerbread cookies – Pepparkakor
In Sweden these cookies are not soft!
Christmas butterscotch – Knäck
The name Knäck means Crack, so watch your teeth!
Saffron buns – Lussebullar
Fluffy buns with saffron
Rice a la Malta - Ris a la Malta
Don’t know where the name comes from, but its cold rice pudding with added sugar, whipped crème, vanilla extract and bits of oranges. Delicious!
Chocolate – Choklad
We always have some light desserts too, like homemade ice cream, pannacotta and fruit salad
To drink
Malt soft drink (“Vintersaga” in some countries) – Julmust
The Must can be found in stores at Christmas and at Easter, not the rest of the year. A sweet and malty taste.
Water – Vatten
Christmas beer – Julöl
Usually, a bit darker kind of beer
Wine – Vin
Christmas goodie - Julmumma
A drink made from Julmust and beer
If you want to know more about the different foods its easy to search for it on the internet and read more. We will try to add some pictures later on.
Happy eating!